2.14 - Feel the Water Level
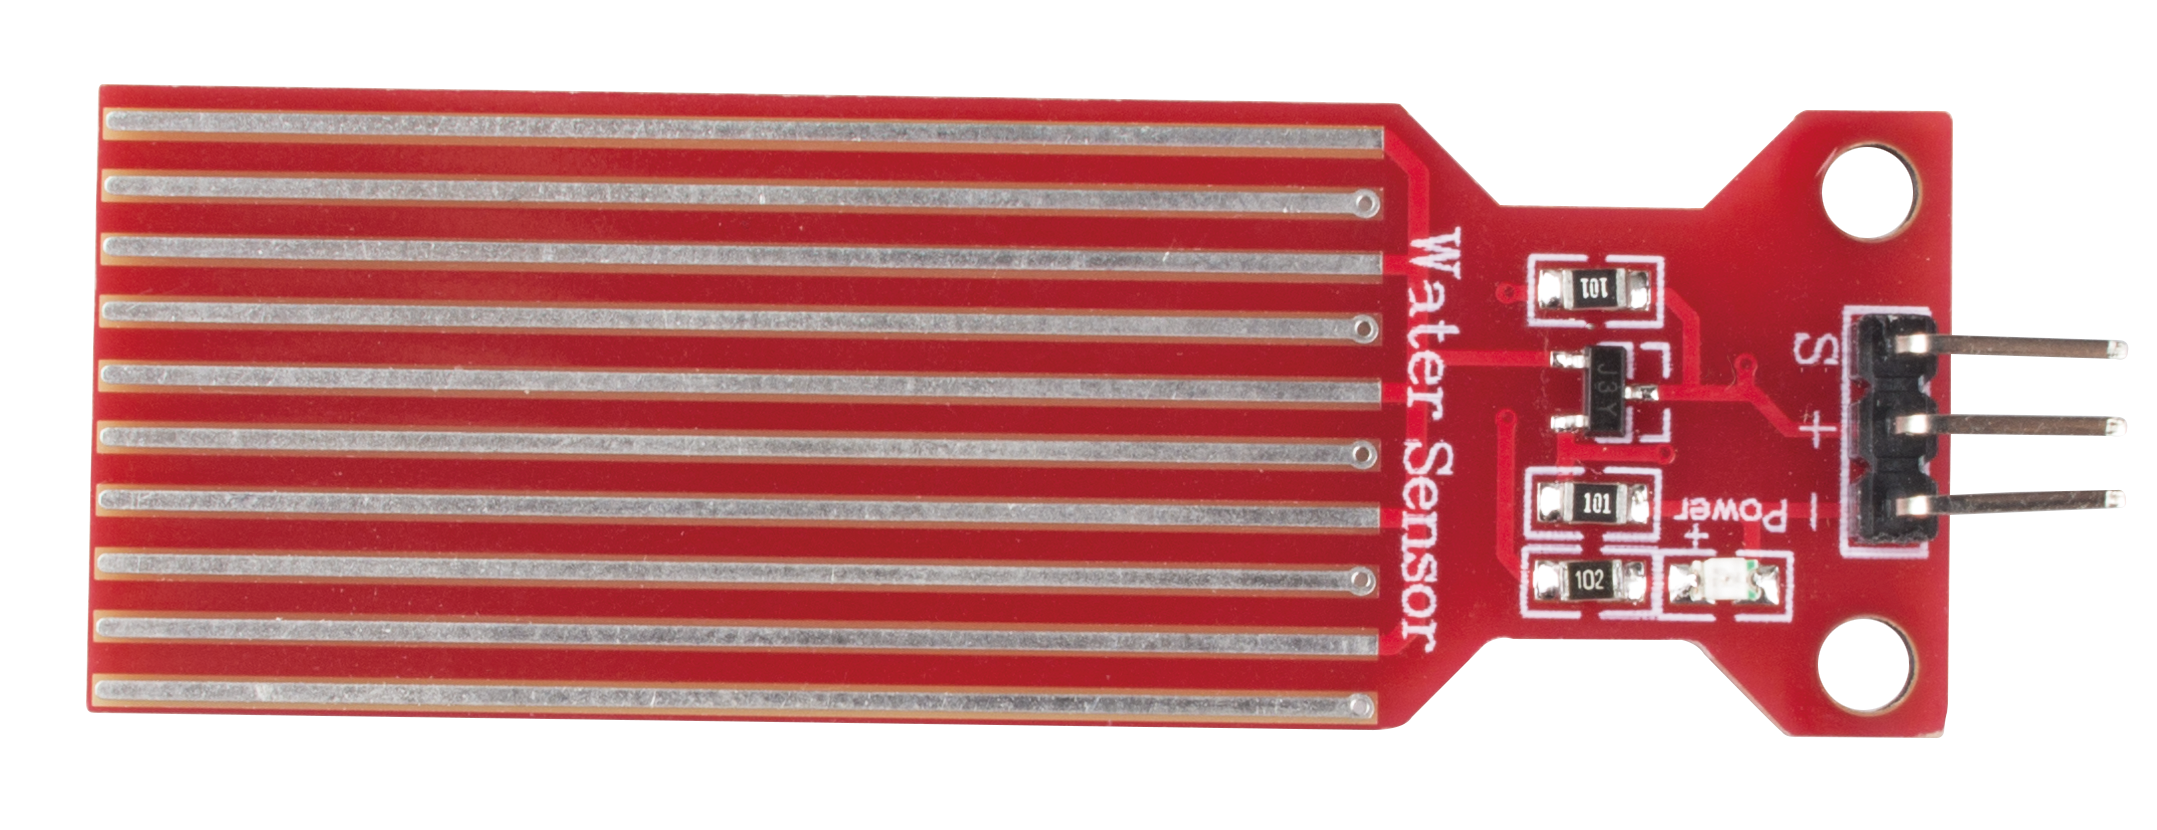
Water sensor is designed for water detection, which can be widely used in sensing rainfall, water level, and even liquid leakage.
It measures the water level by having a series of exposed parallel wire traces to measure the size of the water drops/volume. The water volume is easily converted to an analog signal, and the output analog value can be read directly by the main control board to achieve the water level alarm effect.
Warning
The sensor cannot be fully submerged in water, please only leave the part where the ten Traces are located in contact with water. Also, energizing the sensor in a humid environment will accelerate the corrosion of the probe and reduce the life of the sensor, so it is recommended that you only supply power when taking readings.
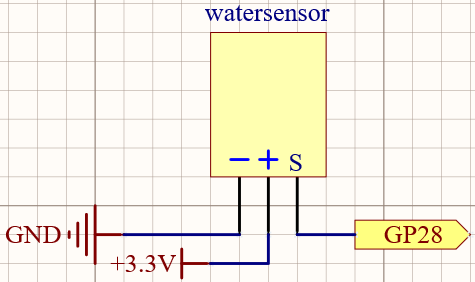
Schematic
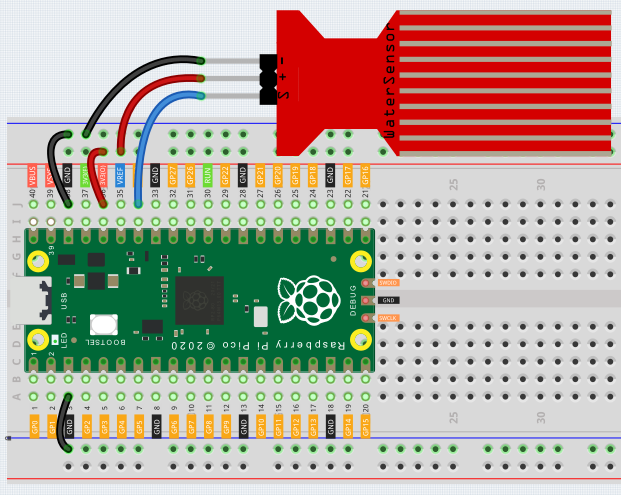
Wiring
Code
Note
You can open the file
2.14_feel_the_water_level.inounder the path ofeuler-kit/arduino/2.14_feel_the_water_level.Or copy this code into Arduino IDE.
For detailed tutorials, please refer to Open & Run Code Directly.
Or run this code directly in the Arduino Web Editor.
Don’t forget to select the Raspberry Pi Pico board and the correct port before clicking the Upload button.
After the program is run, submerge the Water Sensor module slowly into the water, and as the depth increases, the Shell will print a larger value.
Learn More
There is a way to use the analog input module as a digital module.
First, take a reading of the Water Sensor in a dry environment first, record it, and use it as a threshold value. Then, complete the programming and re-read the reading of the water sensor. When the reading of the water sensor deviates significantly from the reading in a dry environment, it is exposed to liquid. In other words, by placing this device near a water pipe, it can detect if a water pipe is leaking.
Note
You can open the file
2.14_water_level_threshold.inounder the path ofeuler-kit/arduino/2.14_water_level_threshold.Or copy this code into Arduino IDE.
For detailed tutorials, please refer to Open & Run Code Directly.
Or run this code directly in the Arduino Web Editor.
Don’t forget to select the Raspberry Pi Pico board and the correct port before clicking the Upload button.